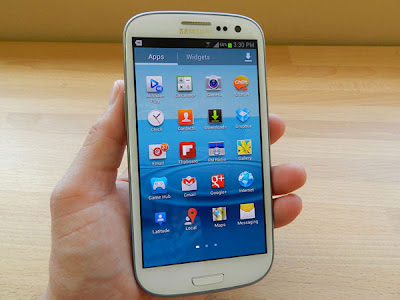
Note: If this tutorial worked for you (and it should work), please leave a comment below. Thanks.
Now, for the present operation we will use Odin. This means that there are few chances to risk something while flashing the official software on your phone. But, in order to avoid the unpleasant situations it is recommended to backup the Galaxy S3 data before going any further. Use dedicated backup and restore apps for saving the contacts, messages, call logs, market apps, EFS folder, internet settings and if your phone is installed with a custom recovery image, use the same for applying a Nandroid backup as well.
Next, after ensuring that your personal info are in safe hands, do perform the following: enable the USB debugging option on your smartphone (you can do this by going to path “Settings -> Applications -> Development -> USB debugging”); charge your phone (if there is less than 60% power left) or else it might get turned off in the middle of the flashing operation – if that happens you will risk in bricking your device; ensure that you can use a Windows running computer, your S3 and its USB cable; deactivate the security tools and antivirus and Firewall protection from your computer and smartphone because these programs might interfere with the update operation.
How to manually Update Galaxy S3 GT I9305 to Official Jelly Bean 4.1.2 XXBLL3 OS
- First of all, after downloading the firmware file on your computer, you need to make sure that the Galaxy S3 drivers are being installed on the same.
- So, download and install Samsung KIES on your computer (skip this step if the drivers are already installed).
- Then, download and install Odin on your PC.
- Extract the update file on Desktop.
- On your computer open Odin.
- Now, turn off your S3.
- Reboot into download mode: press and hold Power Volume Down and OK buttons at the same time.
- Connect the handset with your PC and take a look on Odin.
- You should notice that the “added” message is displayed and the ID:COM section is yellow or blue.
- If not, unplug the USB cord, close Odin and reinstall the drivers on your computer; then repeat the steps from above.
- If everything is working as expected, then from Odin, click on “PDA”.
- Pick the update file; don’t make any other changes on Odin – the Re-partition box must be unchecked.
- Click on “Start” and wait while the XXBLL3 OS is being flashed.
- In the end, the “pass” message will be displayed meaning that you can unplug and reboot your phone.
If Odin gets stuck:
- Close Odin.
- Disconnect the S3 from the computer.
- Force restart your phone.
- On the computer re-install the SGS3 drivers.
- Open Odin and connect your handset with the computer again.
- Resume the update procedure by following the steps from above.
If in the end you phone will get stuck in a boot loop:
- Reboot into recovery mode.
- For recovery mode press and hold Power Volume Up and OK buttons at the same time.
- Select “wipe data factory reset” and “wipe cache partition”.
- Select “+++go back+++” and “reboot system now”.
- Done.


